

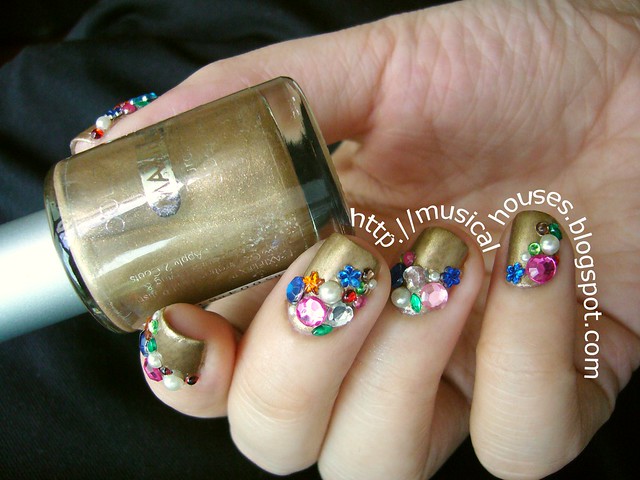
Libertine-inspired embellished manicure on gold base with gems!
Isn't it lovely and all blingy and stuff? This might make better sense if I showed you the original, at the runways of NYFW. The polish looks kinda gold-olive-muddy-a-bit-brown here, but it's described as gold (and it looks more gold) in the comments and in some other photos.

When I saw this manicure, I thought, hmmm...blingy gems and jewels and stuff over a gold base. I can do this! So I decided to check out my stash of gold polish to see which one looked the most similar to the polish in the photos I was seeing.
The polish in real life is Butter London's Marbs, but I don't have that, so after some looking around, I settled on my good ol' Collection 2000 Aztec Gold (which I've featured on its own as a gold nail polish NOTD here waaay back when in 2011). I think the brand has since been renamed just plain old Collection, but I may be wrong. I used two coats of Aztec Gold as a base.
Libertine-inspired embellished manicure on gold base with nail art gems!
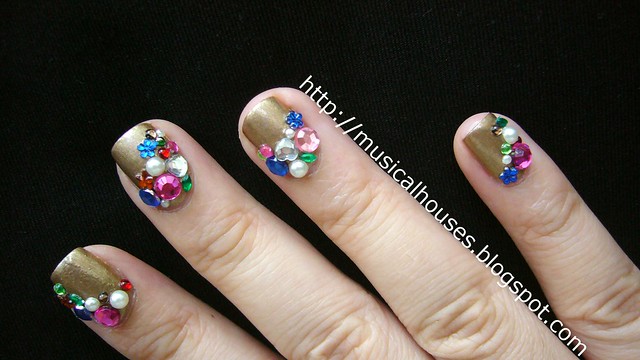
On top of that, I piled on the bling! Basically, I brought out nearly all my gemstones and rhinestones and pearls, and what-have-yous out! I got these from a variety of places, some are from Color Club, some were from Born Pretty Store and KKCenterHK, and some were from Daiso - basically, cheap and cheery places. The actual Libertine manicure used leftover gems from the collection's clothes (I didn't actually take a look at the clothes though!), so I guess the gemstones Libertine used were a tad more upscale than mine, but hey, the cheap gems work just as well, right?
Fashion Week-inspired gold nail art with gems - it took a loong time to put those gems on!
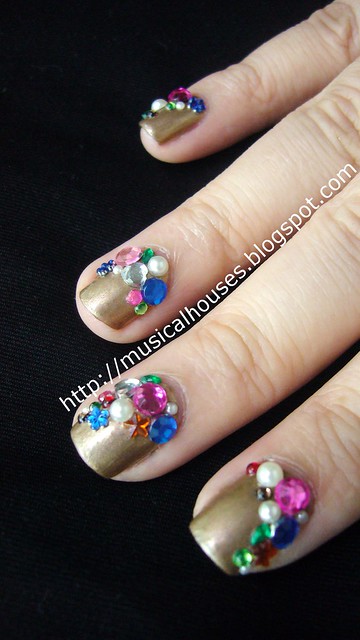
The hard part was actually me getting enough patience to put those gems on my nail one by one. I read in one of those fashion mags that on average each nail had 10 gems, so I decided I had the liberty (heh, pun) to go crazy with the number and density of gems on my nails. I started off by putting a couple of larger ones, and then adding on the medium-sized ones, and then squeezing in the smaller ones wherever there was space on the nail, to round out the look of the nail. I think it really helps to work from larger to smaller-sized gems!
Gold nail art with gems: It helps if you work your way from the larger to smaller-sized gems.
Another favourite tip of mine when placing gems on the nail (other than patience!) is the wet toothpick trick. It works if you are adding gems, rhinestones, pearls, or other small items onto your nail while your polish is still wet. You dip the tip of a toothpick in water, touch the toothpick tip to the gem that you want to work with, and the gem will stick to the toothpick's wet tip, thanks to surface tension! And when you place the gem on your nail, the nail polish is thicker and has more surface tension, so the gem will stick to the nail polish instead, and drops right off the toothpick. See, better living through science!
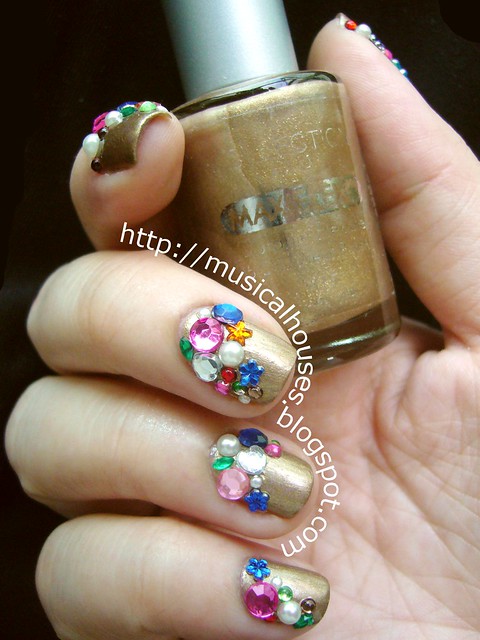
Embellished nails are easy to do, as long as you have patience (and a wet toothpick).
Although I had a few "WTF am I doing" moments while I was working on this particular nail art, I found that I really, really liked the completed look - and even my sister said it was awesome! Although it is a little high-maintenance (just imagine those rhinestones dropping off one by one...), it really does look pretty cool. And since all it involves is placing rhinestones on your fingers, it's pretty easy to do, too, if you have a little patience. These are pretty great for a special occasion or a night out. I'll need to think of a way to make them more wearable for everyday life, though!


Love love loveeee this! :D
ReplyDeleteCoool :)
ReplyDeleteSuper cool!!
ReplyDeleteThat's a lot of nail bling --- I love it!
ReplyDeleteWow! Super bling and sparkle. Love all the gems and rhinestones combined with that gold shade of polish.
ReplyDelete