

I first painted my nails with Wet n' Wild White as a base, then I took a sponge (I just use whatever I can get my hands on - I use the sponges that I have at home to wash dishes), and did three stripes of paint in each colour next to each other on the sponge. Then I transferred the polish from the sponge to my nail. I couldn't figure out how to get rid of the "sponge marks" on my mani. Maybe I should have used more polish on the sponge, or a different type of sponge? Anyway, when I figure it out, I'll let you guys know.
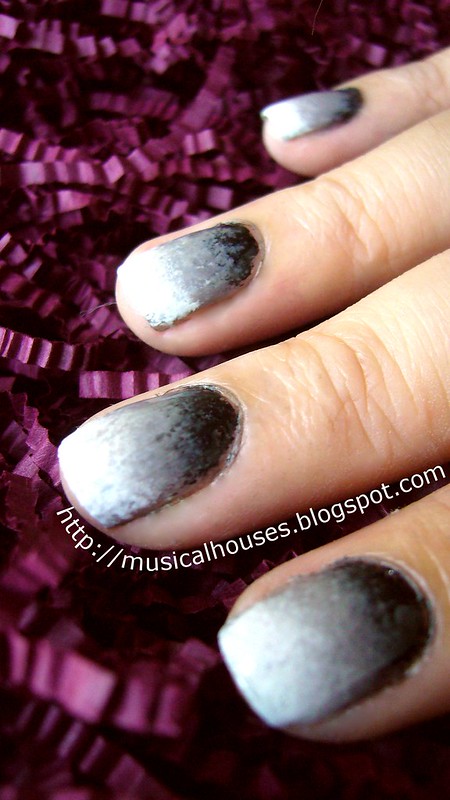
The trick to this, I think, is to blend the polishes on the sponge before transferring them to the nail. Also, I think it helps to use polished that are opaque and give good coverage.
The downside to this is that you get polish all over your cuticles and skin around the nail, and cleanup can be a pain. Especially if, like me, you used black or a dark shade, then it's quite hard to remove all that crap that gets stuck at the base of your nails. But the end effect is so cool, I think it's worth it!
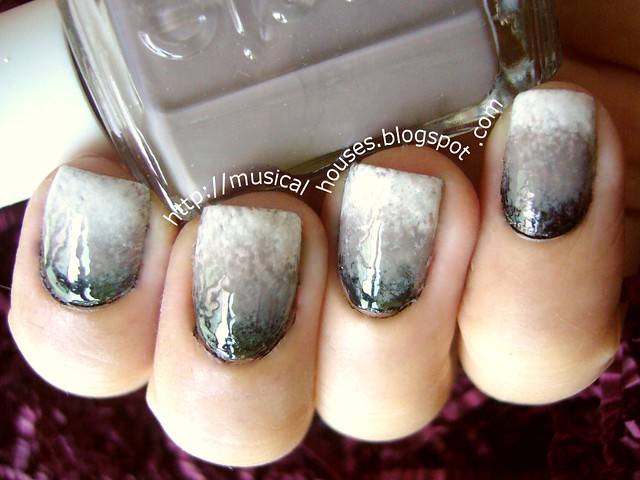
So ta-da, my gradient manicure! I'm really loving how this looks, despite the pain it was to clean up, it has a very moody-chic vibe to it.


Most gradient manicure tutorials I've seen use makeup sponges. Those have much smaller pores, so I'd imagine the sponge marks would be less obvious if only for that reason. I haven't tried to do it yet, so don't just trust my memory!
ReplyDelete@Leah: I think you may be right! Will try makeup sponges next! :D
DeleteI love the texture the sponge adds!!
ReplyDeleteI like the texture, it makes it look kind of like stone!
ReplyDeleteThis comment has been removed by the author.
ReplyDeleteThis comment has been removed by the author.
ReplyDeletePut a little vasoline around the nails where your cuticles and skin are, and the polishes will be much more easily removed.
ReplyDeleteAlso, I read that the top coat should go on right after sponging so that it evens out the marks. Personally didn't work out when I tried out, but I believe you're much more skilled than I am at this!
Love the combi! Thanks for sharing it!
Hey nice blog here! Visit mine and let me know what you think, maybe we could follow each other!
ReplyDeleteXOXO
Ylenia
Ooh I love the outcome!
ReplyDeletehttp://sophisticated-sisters.blogspot.com.au/
love it <3
ReplyDelete