Slider

Showing posts with label Nail Tips. Show all posts

DIY Peel Off Base Coat For Easy Glitter Removal: PVA Glue (And the Essence Peel Off Base Coat Dupe)

Sunday, August 26, 2012

23 comments
Remember the Essence Peel Off Base Coat that was launched recently, and got a lot of buzz among the beauty blogger community? Well, it turns out there's a simple, much cheaper dupe for it - Elmer's glue! In fact, not just Elmer's - any kind of PVA glue will do.


It all started with some bloggers reviewing the Essence Peel Off Base Coat, which was part of a travel themed collection called "Ready For Boarding". The idea behind the Peel Off Base Coat is that you paint your nail polish over it, and simply peel it off to remove! No messy acetone or nail polish remover required. The bloggers noted that it looked, felt, and even smelled and behaved like your average craft glue. (No kidding! You can read them here and here.)


Then one astute blogger looked at the ingredients list of the Essence Peel Off Base Coat was the same as PVA glue! (Essentially it was Polyvinyl acetate (PVA) emulsion, water, and preservatives.) Looks like Essence has been repackaging PVA glue and selling it as Peel Off Base Coat!

So I thought, why don't I just use PVA glue, instead of trying to get the Essence version? Cheaper, easier to get, and not LE or sold out. And if you're in Asia, like I am, you don't have to wait months for it to be launched in your locality, only to be ripped off by the fact that it's PVA glue. Score! Turns out, I wasn't the only one with the idea. Other bloggers had tried this out too (in addition to Labmuffin, the original astute blogger, you can see others here, and a DIY version here.) So, in the knowledge that I wasn't the only crazy one with this idea, I tried it out.

essence peel off base coat dupe pva glue bottle

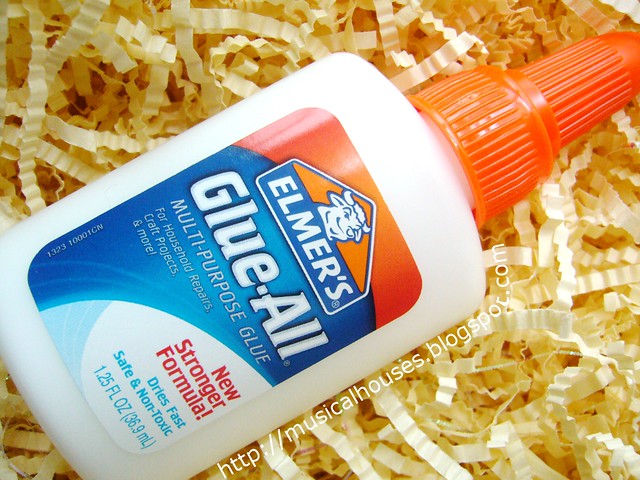
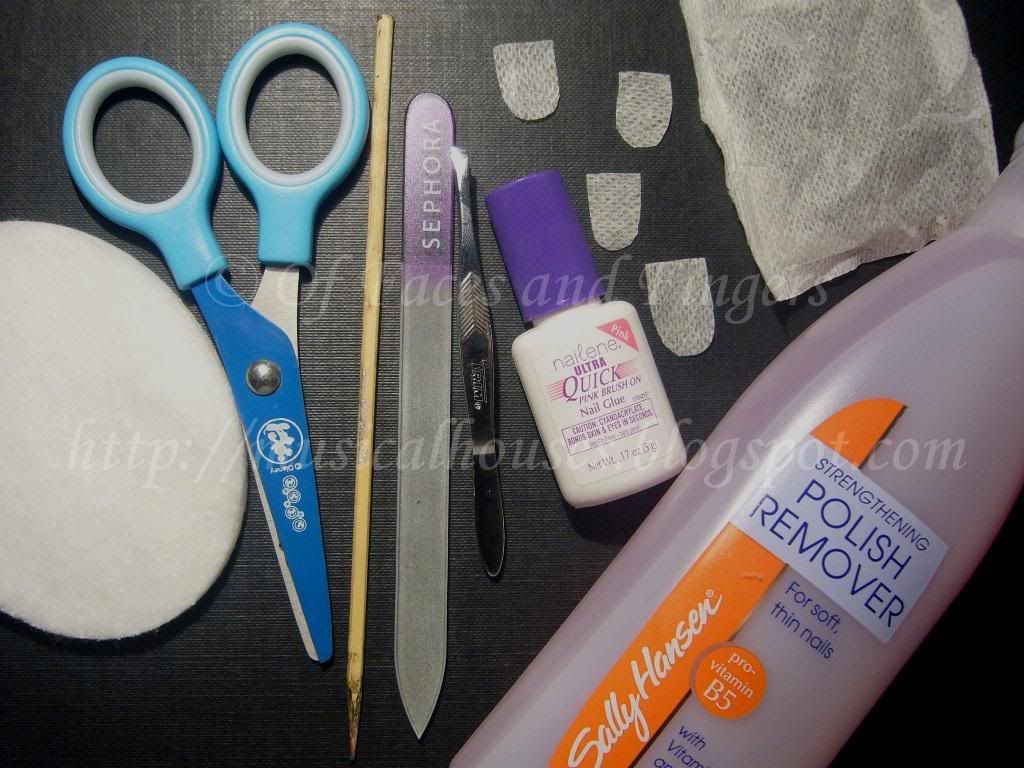
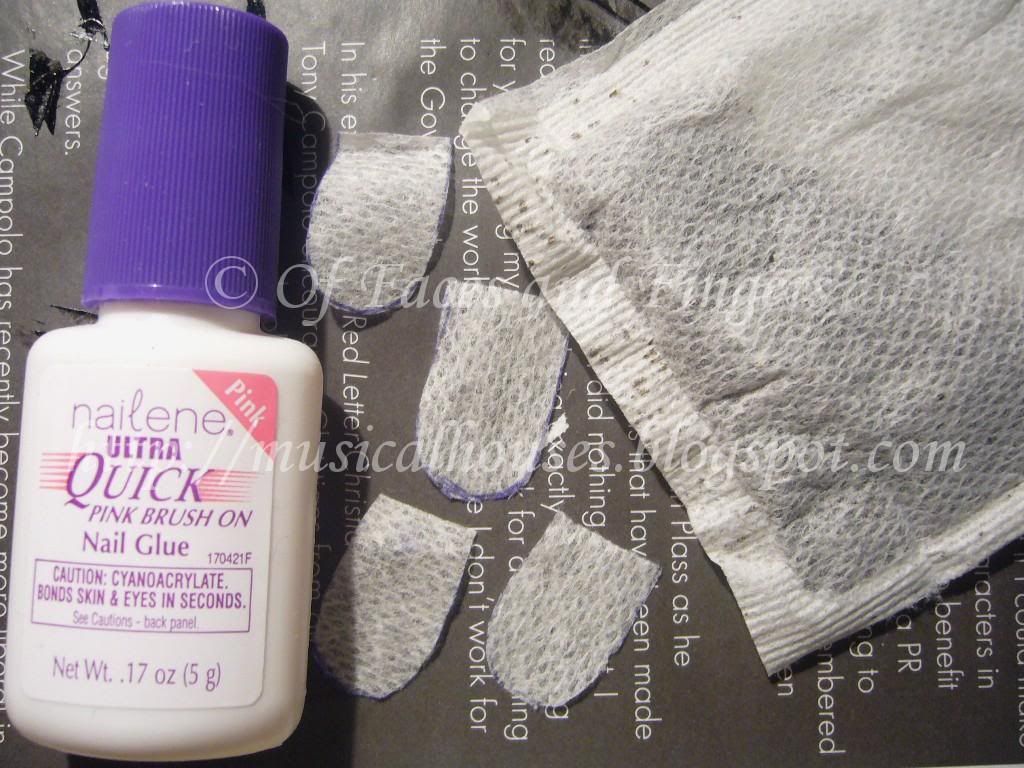
I got a small bottle of Elmer's glue, and then, all excited, without further ado, I started work. I was too lazy to decant the Elmer's glue into a nail polish bottle, so I dumped a big blob of the glue out on a sheet of paper, and just dipped a clean nail polish brush in the blob, and painted my nails that way.

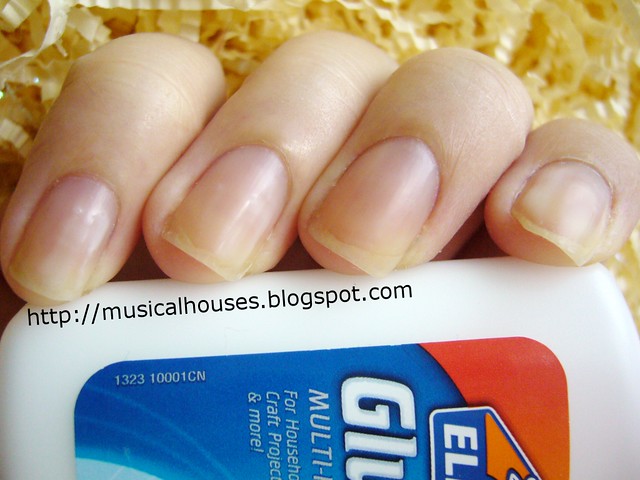
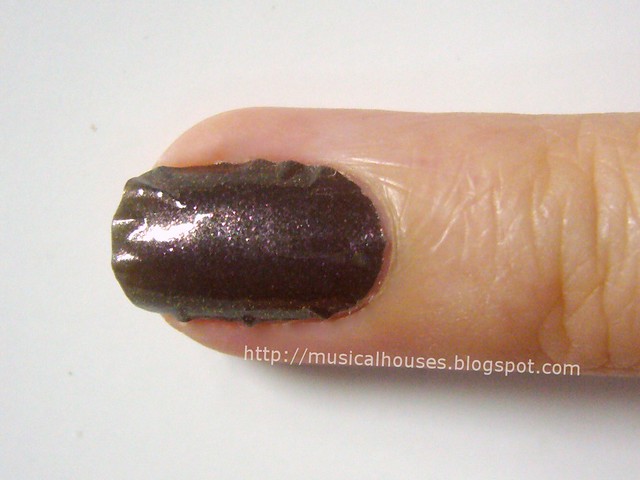
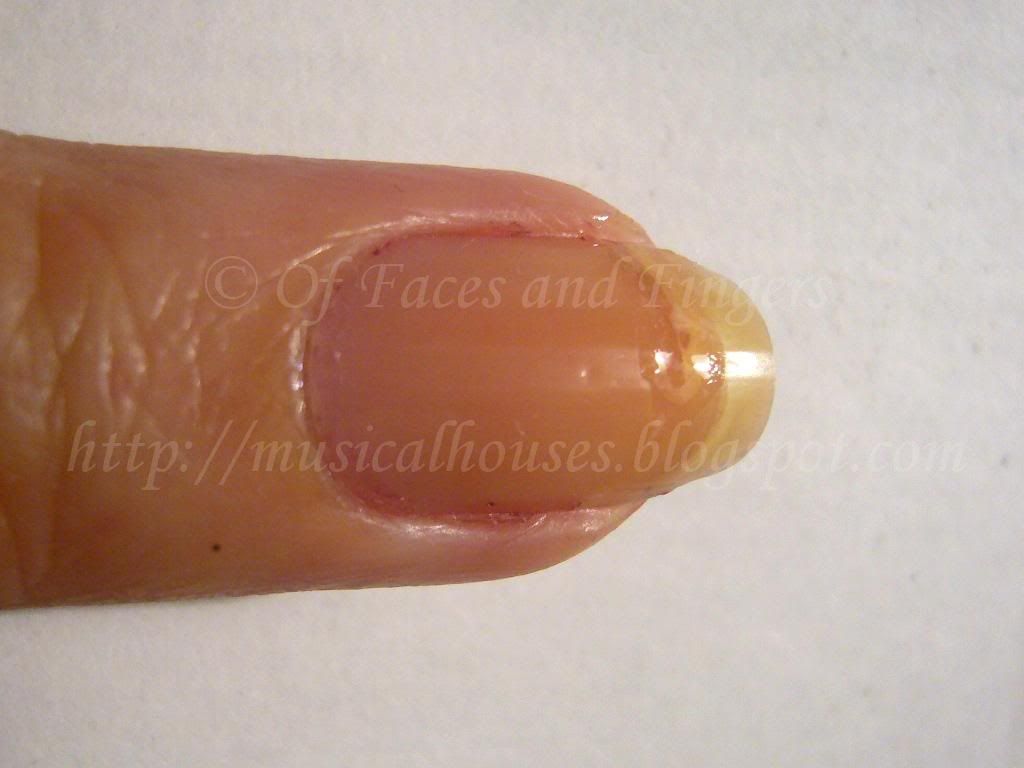
When I first painted my nails with my Essence Peel Off Base Coat dupe, they looked like this. That is to say, they looked like I had glue on them (which, by the way, is how the real Essence Peel Off Base Coat looks when you first put it on too, according to the blogs I've read). But when I first saw my nails, I had this "OMG WHAT DID I JUST DO? I PUT GLUE ON MY NAILS!" moment. It felt a little crazy, I won't lie.


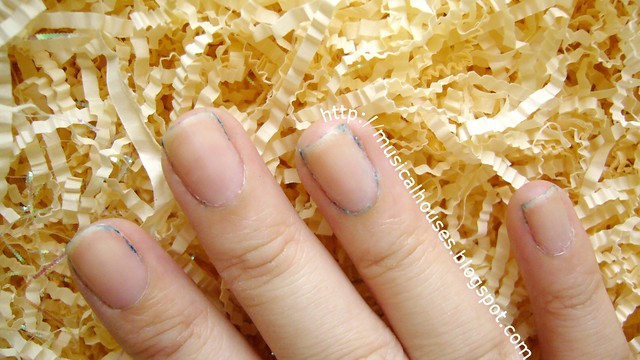
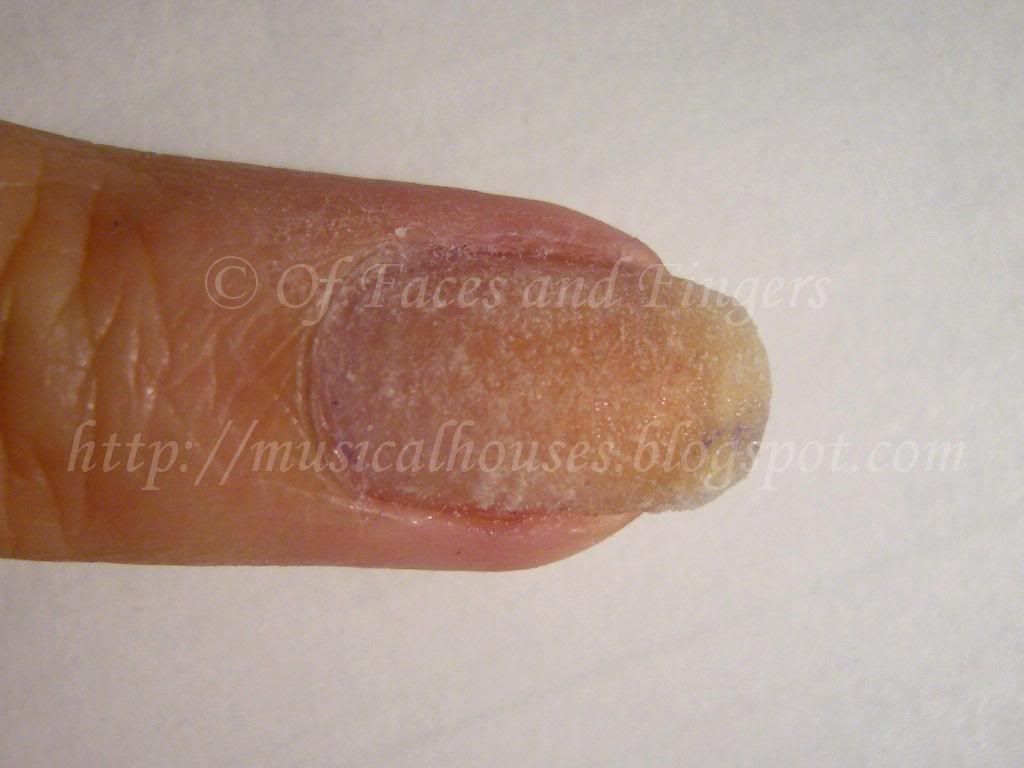
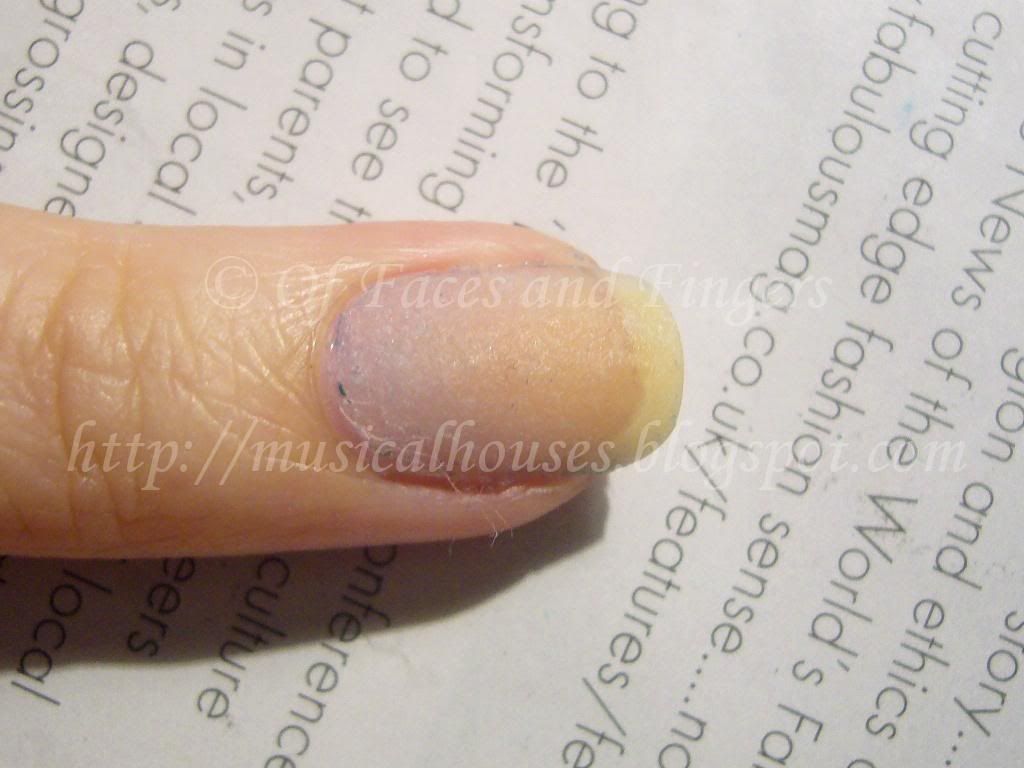
But after a few minutes, the glue quickly dries down and becomes clear, and much thinner than I'd expect. I guess all the solvent (which really is just water) has evaporated. It gets dry pretty fast (in 2-3 minutes) but if you want to be cautious, perhaps waiting for 10mins wouldn't hurt. There, all dried out, it doesn't look so crazy now. (OMG, yes, you are seeing my nekkid nails!)

essence peel off base coat dupe pva glue dry

The good thing about using PVA glue is that if you make any mistakes with the base coat, you can clean it up with water, or just wash it off entirely with water. So in a way, it's even easier to handle than your normal base coat.

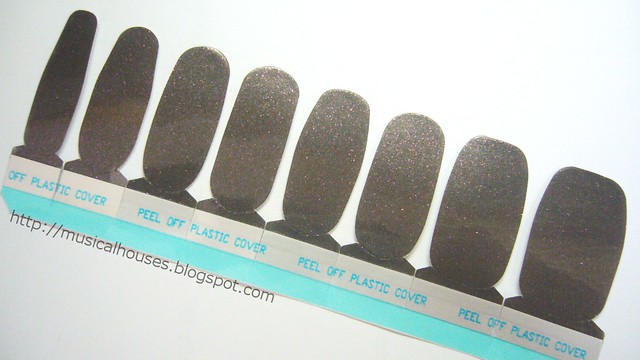
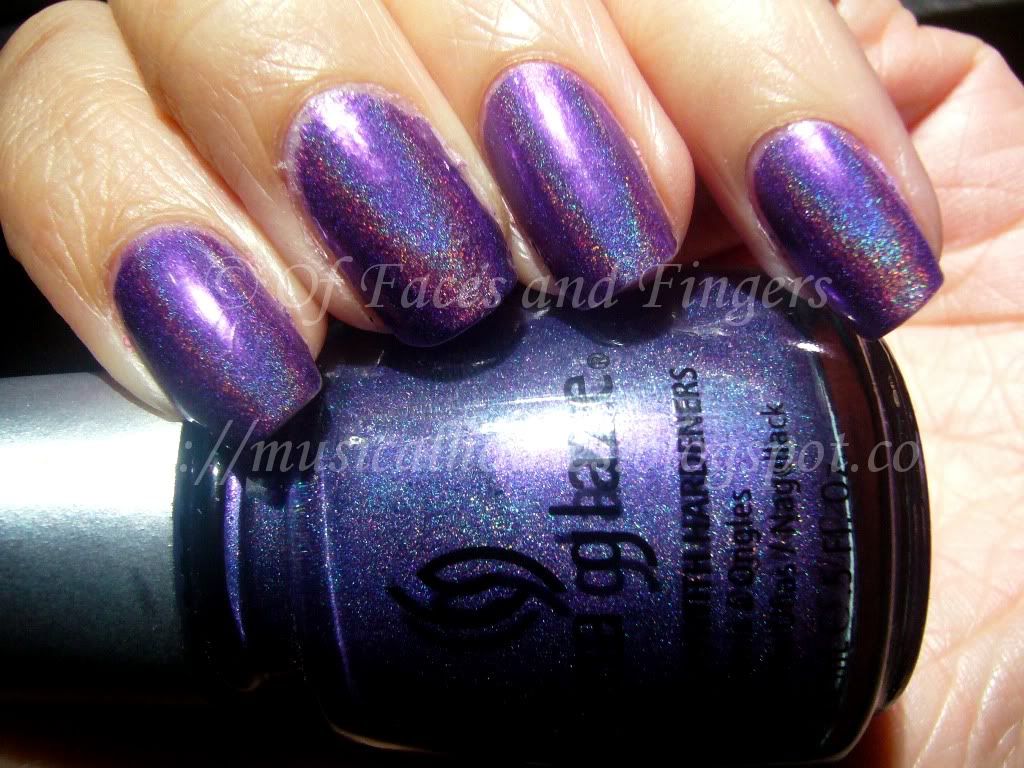
Anyway, seeing how this was a peel-able base coat, I decided I would absolutely HAVE to use it with a glitter polish. So I picked out Nubar Night Sparkle, part of the Sparkle collection sometime back. I've had this for years but haven't worn it yet...

nubar twilight essence peel off base coat dupe pva glue

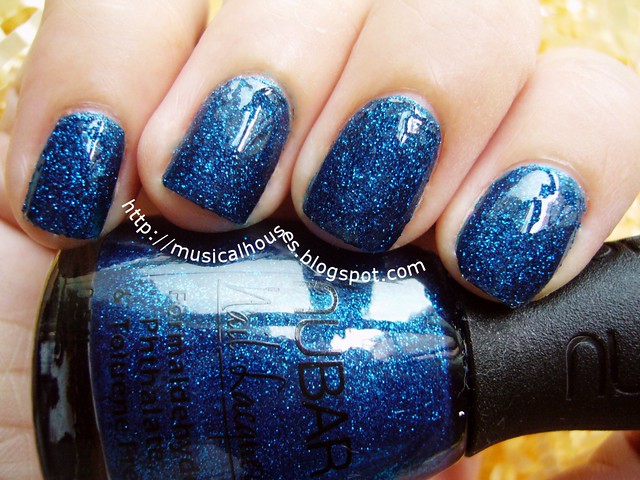
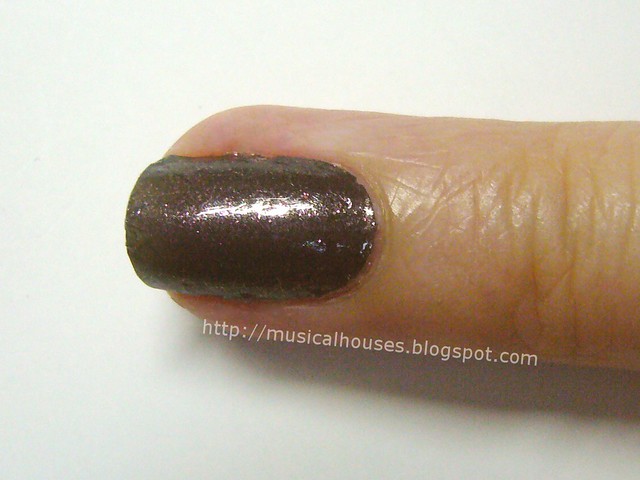
I know, gorgeous, right? The best part? The easiest glitter removal ever - just peel off the entire polish right off your nail! I was really psyched at being able to just peel off the polish - it's even more convenient than the foil method!

essence peel off base coat dupe pva glue removal

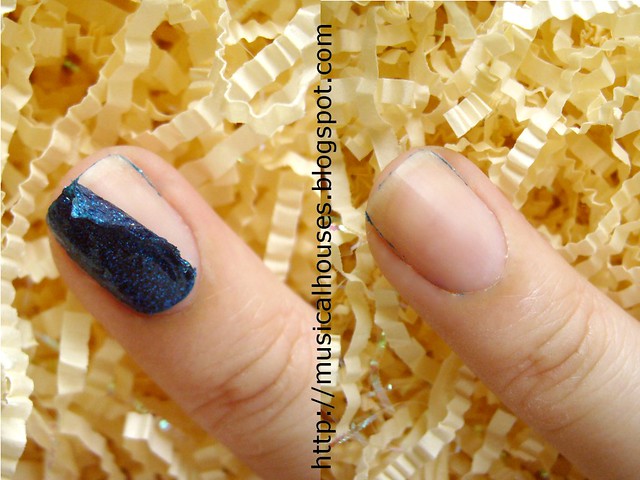
Generally, I got pretty good removal - if you can peel off all the PVA glue base, then you're peeling off all the polish. Unless you polish outside of the PVA base (as I did near the cuticle area), then you'll have to use a little bit of remover to take off whatever is left behind. Still, this is great for me - a clean, convenient method of glitter removal! Just look at that! (Yet another nekkid nails shot.)

essence peel off base coat dupe pva glue removed

One of the questions I had about using PVA glue was the water resistance of the glue. After PVA glue is water soluble (so is the Essence Peel Off Base Coat), so I was worried that even after the glue had dried, the manicure would still come loose when I showered or washed my hands. Other bloggers had mixed results - some reported 4 days without incident (here and here), while others had only one day before chipping (here). That's something I've yet to try out, since I haven't tried wearing the PVA Glue base coat for a few days yet. Still though, if it lasts, it would be fantastic. Updated: I tried out the PVA glue as a base coat for an NOTD wear test, and it did great! Check out my Elianto Burnt Umber NOTD post for more details!

Another thing to note of course, is safety. Based on the ingredients list in the Essence Peel Off Base Coat, a mixture of PVA emulsion and water (found in the Essence version) probably won't harm your nails if you use it topically. So I imagine most PVA glues would work. Just don't use superglue! And if you are unsure, check the ingredients before buying or trying on your nails. The good thing? It's washable with water, so if you try it and don't like it, just rinse it off.

So, would I ever try out something as crazy as using Elmer's glue as a base coat? Well, to be honest, I actually think I would! I can see how a peel-off base coat would be useful for glitter manicures, elaborate nail art that would be a pain to remove, and also for swatching, especially swatching of multiple glitters in a row. Basically, if it's going to be a pain to remove, and I don't intend on wearing it for all that long (say maybe 2-3 days), I'd use the glue method. But for plain ol' creme manicures, I'd probably just use a normal basecoat.

How To Save Dried Out Nail Polish Strips Tutorial!

Friday, December 30, 2011

31 comments
Over the past year, I've been seeing more and more companies putting out nail polish strips. It started with Incoco, and then before you could say "trend", Sally Hansen, Sephora, OPI for Sephora, Nailene and a bunch of others all started putting them out too.

Unlike most nail appliquƩs, which tend to be made of a plastic material, I much prefer nail polish strips because the removal process is much kinder to your nails. Most plastic-based appliques involve soaking the entire nail in acetone for proper removal, but because these are essentially semi-dried polish strips, you can just remove them like normal nail polish, with cotton wool and nail polish remover. I've reviewed nail polish strips before in a previous post, and found them to be pretty good for a fuss-free application.

incoco soho chic strip


So, what happens when those nail polish strips - like real nail polish in bottles - dry out? I stumbled upon a solution the other day, when a months-old Incoco nail polish strip set I wanted to use had dried out. Fortunately, the answer is simple. All you need is this:

orly smudge fixer


Yep, that's all. Just a bottle of Orly Smudge Fixer. When I realized my nail polish strips had dried out, I was sad, and thought I'd have to throw the entire set out. And then a thought struck me: since these strips were made of nail polish, couldn't I rehydrate them with thinner, just like real nail polish? And isn't my handy bottle of Orly Smudge Fixer mostly made out of thinner anyway?

So began the experiment. The strip I'm using here is Incoco Soho Chic, a gorgeous deep brown with flecks of gold/red shimmer. It's absolutely gorgeous, which is why I was so loathe to just let it die like that.

First, I placed a strip on my nail (if you've never done this before, here's a nail polish strip tutorial to help you out). As you can see, because the nail polish strip is dried out, it doesn't stick nicely to the nail. It's all bunched up and uneven at the sides. Normally I don't have this problem with the nail polish strips - they usually just stick quite flat to the nail.

saving dried nail polish strips 1


Next, we add a little of our secret sauce - Orly Smudge Fixer. I just painted the smudge Fixer over the unsticky parts of the strip, and the bulges. You can also just paint over the entire nail with Smudge Fixer if the strip is really dried out, but the general idea is to wet the strip enough for it to adhere properly to the nail.

saving dried nail polish strips 2


And you're done! Look, no more weird bulges! Wasn't that simple? Just wait for the strips to dry, and you're good to go! Well, there is a small catch, though. Because the strips have been wet with Smudge Fixer, they will take a little while to dry. If you are impatient, a layer of quick-dry topcoat would help to speed things up.


And there you have it! Good as new! Other than Orly Smudge Fixer, I think you could use any other brand of nail polish solvent or thinner. The general idea is just to put back the solvent which had evaporated and thus caused the strip to dry out. I'm pretty excited about this method, it's simple and it works! Now I have an awesome manicure, and saved myself bunch of money!

How to Fix a Broken Nail With a DIY Tea Bag Wrap

Friday, July 30, 2010

60 comments
There I was, opening the freezer door to get some food. I was hungry, therefore I was impatient, and therefore I wasn't really thinking too much about what I was doing. While opening the freezer door, my fingers slipped off the door handle - except my third finger, which caught onto the door handle. I felt a snag on my finger and a bit of pain, and it took me a few seconds to realize that I had just torn my nail.

I was so upset I had to Twitter about it, and my non-nail fanatic friends were laughing at me because they thought it was so funny that I could get so worked up over a nail. But you know how it is with these things. You spend months growing them out, shaping them, caring for them with hand lotion and cuticle cream, and then, just when you think "My nails don't look like rubbish after all", they tear. It's heartbreaking, really, because if you trim them all the way down after a tear, you start from scratch, all over again.

Have a look at the damage. The freezer needs to DIE. I'd have smashed it to bits, but it had three tubs of ice cream inside, and I didn't want to ruin the ice cream.


I didn't want to trim my nails all the way down and start from scratch again, so I decided to try a DIY wrap with a tea bag to hold the nail in place until it grew out. I don't do this very often, so my skills at making teabag wrap are really Noob-ish, so you'll have to put up with the lousy skills here.

You'll Need:
1. Nail Polish Remover or Acetone (swipe over nail before applying the wrap)
2. Cotton Pad (for swiping acetone over nail before application)
3. Nail Glue (not base coat or nail treatment)
4. Tea bags (cut to just slightly smaller than nail size)
5. Scissors (for cutting tea bag wrap to size)
6. Tweezers (for placing the tea bag wrap over your nail surface)
7 Orange Sticks (for holding down the wrap while they dry)
8. File or Buffer (for smoothing out the wrap after application)


I'd like to point out that it HAS to be nail glue that you're using, as I had a question from a reader asking if she could use base coat or nail treatment instead. These weren't made to funtion as adhesives, so if you use them, the tea bag wrap won't stick to your nail. Any kind of nail glue will do, as long as it's a nail adhesive. I used the Nailene Ultra Quick Brush On Nail Glue, which dries fast, and also dries clear, which is useful if you don't want to sit around waiting for the nail glue to dry.

I also used a tea bag. Yup, your normal average tea bag. Cut it out to the size and shape of your nail. I just used a pen and a scissors for that. The cutouts here shown are the actual shape of my nail, but before you apply them you might want to make them a bit smaller than your actual nail size, so that you don't accidentally glue down the wrap onto the skin around your nail (which was what I did).


Step 1:
First, swipe your entire nail plate with acetone or nail polish remover. This helps get rid of the oils on your nails and helps the wrap adhere to your nail more securely.

Step 2:
Seal the tear with a bit of nail glue. You don't have to do this if the tear is small, but for a huge tear where the torn bit doesn't stay in place and might move around, it's a good idea. I think I put a bit too much here. You only really need a little bit to seal the tear. Too much and it will cause a bulge on your nail, which will make it harder to apply the wrap on top. You want to keep the surface flat so the wrap goes on more easily:


I don't have pictures for the next couple of steps, because you have to work quickly, so there wasn't time to stop and take photos.

Step 3:
Apply nail glue over the entire nail. Leave a little gap at the sides and at the base of the nail, near the skin and cuticles and the sides and bottom of the nail. This is important because you don't want to glue your cuticles or skin to your nail wrap!

Step 4:
Then, working quickly, use a pair of tweezers and place the nail-shaped tea bag cutout over your nail. Use tweezers, and not your fingers, or you will glue your fingers to your nail. And that's painful. (Um, not like I would know....*looks away and whistles*)

Step 5:
After the wrap is on the nail, use an orange stick to press down and hold the wrap in place while the glue dries. Remember, use an orange stick and not your fingers, or you'll get your fingers glued to your nail. This step will take a few minutes or longer, depending on how fast your nail glue dries. The important thing in this step is to make sure that there are NO air bubbles under your wrap, between the tea bag material and your nail. If there are any air bubbles, moisture could collect in them, and lead to bacterial growth, on the nail. So if you do see air bubbles, it's better to redo your wrap at this point. Better safe than sorry!

This is what my nail looks like at this point:


As you can see, I am a DIY nail wrap noob, and I glued my cuticles and skin to my nail wrap, because I accidently put too much nail glue and cut the size of the nail wrap a little too big. I ended up using a bit of nail polish remover to un-stick my skin.

Step 6:
Next, put another layer of nail glue on top, and let it dry. The nail glue will saturate the wrap and make it turn clear (or at least, clear-ish). This way, the wrap will be secure, and it won't look as obvious.

Step 7:
You're all done. All that's left is to lightly file or buff down the surface of your wrap to smoothen it out. Don't overdo it, or you'll end up buffing through the wrap. Once you're done filing or buffing, and you can proceed to paint your nails with whatever colour you want.

Here's a photo of the finished wrap (pardon the lint and the remnants of previous polish, this was a photo of the wrap taken later in between manicure changes):


This wrap, noob-ish as it was, lasted me for around 2 weeks. Eventually I redid it because my nails were growing out, and for some strange reason a corner of the wrap chipped off. (Seriously, how does that happen?!)

Here's my fixed-up and pretty-fied nail. You can tell its the middle finger that broke, because the too-big wrap is sticking out from the sides of my nail. Oops.


I love China Glaze LOL, it's an awesome royal purple holo. The only thing is that I feel sad about is that the holo effect was a little bumpy and rough on my broken nail, because the surface of the wrap isn't totally smooth, even after filing. And here's a slightly more flattering photo of my nails:


I guess this means I'm not going to be able to wear holos for the next couple of months until my tear grows out and I don't need the wrap :( And yes, this does mean that you'll see my nail wrap sticking out of all the next few NOTDs, unfortunately. They get less obvious as the wrap grows out, but I hope you guys can pretend it's not there! :X

Linkwithin

Related Posts Plugin for WordPress, Blogger...