Slider

Showing posts with label Blue. Show all posts

Cirque Bejeweled: Deep Blue Holographic Polish!

Thursday, May 22, 2014

2 comments
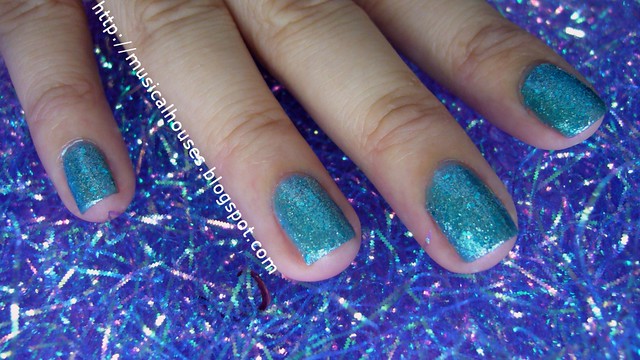
Summer is officially here in Singapore (it's really very hot!) and with the heat, means holographic polishes! You guys know how much I love my holos, so I thought I'd show you one more holo that I'm loving right now! This is Cirque Bejeweled. Doesn't it just look so lovely?


Cirque Bejeweled: A deep blue holographic nail polish.

Cirque is one of the indie brands that I've gotten into lately. They're a little pricey, like indies tend to be. I tend to buy my Cirques from either Mei Mei Signatures or Luxola. Between the two, Luxola is more pricey, so if I'm buying from there I only ever wait until they have a 30% or larger discount (at which point the price would be the same as Mei Mei Signatures). Both have free shipping, so it just depends on which site carries the colour I want, and which site has it cheaper.

Pond Manicure: My First Attempt at a Blue Pond Manicure

Monday, September 16, 2013

5 comments
Recently, I saw a few pond manicures online, so I thought I'd give the pond manicure a try! For those who need an explanation, a pond manicure basically involves layers of a sheer polish, with designs (dots, flowers, or whatever you want) in between the layers. I'm not sure exactly how the pond manicure got its name, but to me, it's an apt name because the layering of sheer polish gives the designs on your nails the impression of being submerged in a pond. Kinda like they're underwater and you're viewing them from above the water.


My first ever attempt at a Pond Manicure!

For my first ever pond manicure, I decided to use Nicole by OPI Somebody Teal Love. OMG yes I have a Justin Bieber polish, and I bought it from TJMaxx when I was in California for a holiday! I bought it because it was cheap, but after I bought it, I didn't know what to do with it because it was so annoyingly sheer. The level of pigment in the polish was quite non-existent, kinda like Justin Bieber's musical talent, I guess. (Well, I guess since I'm above two decades old, I'm just too old and creaky to appreciate the wondrousness that is his singing.) But aging teen popstar jokes aside, this polish sat unused for a long, long time, because I couldn't bring myself to apply the 4-5 coats that was necessary for full opacity.

Pond Manicure Nicole OPI Somebody Teal Love 2
Using Nicole by OPI Somebody Teal Love (ugh, really bad name) as the "pond" colour.

Under the Sea Jelly Sandwich Manicure

Friday, September 28, 2012

2 comments
So the last time I did a jelly sandwich manicure, I was kind of on the fence about it. So I decided to give it another go, to see if I really loved it or not.


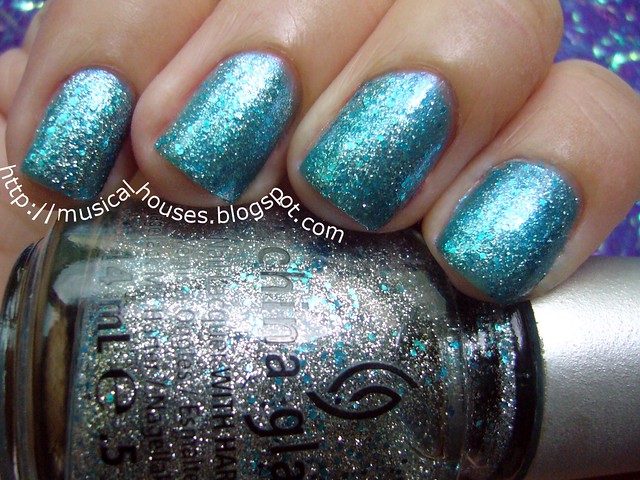
This time, I used China Glaze Lorelai's Tiara, and Nicole by OPI Somebody Teal Love. Yes, I used a Justin Bieber nail polish. No, I am not a fan of Justin Bieber, I'm a little older than his target demographic (although I'm sure if I were 10 years younger and in my early tweens, I'd have such a huge crush on him). Yes, I am ashamed. But it's okay. It's nail polish. At least I didn't buy his CD!

jelly sandwich manicure 2

Anyway, Somebody Teal Love is very, very sheer. Like man-this-is-the-fourth-freaking-coat-of-polish-and-why-am-I-still-seeing-VNL-with-four-freaking-coats kind of sheer. So, I thought it would be perfect for the purpose of a jelly sandwich. Lorelai's Tiara, of course, has all this big happy glitter, and I just love it.

jelly sandwich manicure 3

I used 2 coats of Somebody Teal Love as the base, then two coats of Lorelai's Tiara, and 2 coats of Somebody Teal Love. So this mani ended up being a little thicker than I was used to, but I still liked it! I actually quite like this combination, it looks like there are jewels beneath a sea embedded in my nails, twinkling from below the surface... (I'm all waxing poetic now, aren't I?)

jelly sandwich manicure 4

Anyway, I think the jelly manicure may actually be growing on me. I think I just need to experiment with more glitter and jelly types!

Nubar Night Sparkle: Glitter Made Glamorous

Thursday, September 20, 2012

1 comment
So remember how in a previous post, I showed you guys how awesome my experimental PVA glue base coat was? Well some of you may recall the nail polish I used for demonstrating the base coat - Nubar Night Glitter! Well I loved it so much, I decided Night Glitter needed its own post!

nubar twilight essence peel off base coat dupe pva glue

Nubar Night Glitter isn't really the type of polish I would have bought at first glance, but I received this in a swap, and I'm glad I did! Because it looks so much more impressive on the nail than in the bottle.

nubar night sparkle nail polish glitter 2

In the bottle, Night Glitter looks somewhat boring, compared to the fancy-schmamcy glitters you see nowadays. For one, all the glitter is the same shape. And size. And colour. But once I painted my nails with it, I could totally see why it was the standout of the entire Nubar Sparkle collection. Because it's just so darn friggin' gorgeous.


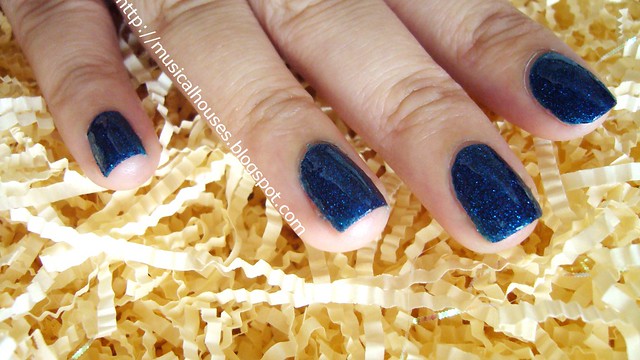
On the nail, Nubar Night Sparkle is a very pretty royal blue glitter that twinkles and sparkles like the night sky. It always looks visibly blue, and although it sparkles more in the sun, it equally beautiful in the shade. The light reflecting off the glitter is indeed a beautiful sight. It looks like a gemstone on my nails! The name Night Sparkle is quite apt in the case of this polish. Night in a gemstone. Me likey.

nubar night sparkle nail polish glitter 3

I also didn't have any application issues. The texture was slightly thick (like most glitter polishes), but the glitter was dense enough that two costs gave good opacity, and there wasn't much glitter clumping. You don't have to layer these, I think they're really better worn alone.

nubar night sparkle nail polish glitter 4

The best thing I love about Nubar Night Sparkle? Although it was originally released in Spring 2010, it's pretty much something you can wear year round, not just Spring. The glitter is perfect for summer days when you want some glitter that catches the sunlight and don't feel like a neon/bright shade, and the deep blue shade goes well for Fall/Winter too. And heck, it's pretty enough to wear year-round, whether you follow those colour fashion trends or not. Now let me smack myself for waiting 2 years to open my dusty bottle!

DIY Peel Off Base Coat For Easy Glitter Removal: PVA Glue (And the Essence Peel Off Base Coat Dupe)

Sunday, August 26, 2012

23 comments
Remember the Essence Peel Off Base Coat that was launched recently, and got a lot of buzz among the beauty blogger community? Well, it turns out there's a simple, much cheaper dupe for it - Elmer's glue! In fact, not just Elmer's - any kind of PVA glue will do.


It all started with some bloggers reviewing the Essence Peel Off Base Coat, which was part of a travel themed collection called "Ready For Boarding". The idea behind the Peel Off Base Coat is that you paint your nail polish over it, and simply peel it off to remove! No messy acetone or nail polish remover required. The bloggers noted that it looked, felt, and even smelled and behaved like your average craft glue. (No kidding! You can read them here and here.)


Then one astute blogger looked at the ingredients list of the Essence Peel Off Base Coat was the same as PVA glue! (Essentially it was Polyvinyl acetate (PVA) emulsion, water, and preservatives.) Looks like Essence has been repackaging PVA glue and selling it as Peel Off Base Coat!

So I thought, why don't I just use PVA glue, instead of trying to get the Essence version? Cheaper, easier to get, and not LE or sold out. And if you're in Asia, like I am, you don't have to wait months for it to be launched in your locality, only to be ripped off by the fact that it's PVA glue. Score! Turns out, I wasn't the only one with the idea. Other bloggers had tried this out too (in addition to Labmuffin, the original astute blogger, you can see others here, and a DIY version here.) So, in the knowledge that I wasn't the only crazy one with this idea, I tried it out.
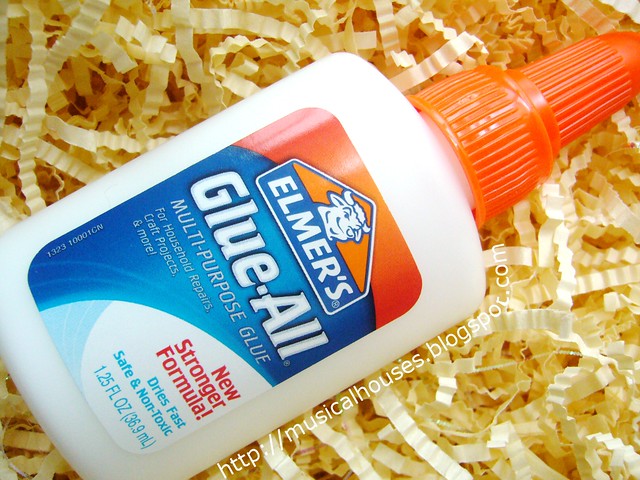
essence peel off base coat dupe pva glue bottle

I got a small bottle of Elmer's glue, and then, all excited, without further ado, I started work. I was too lazy to decant the Elmer's glue into a nail polish bottle, so I dumped a big blob of the glue out on a sheet of paper, and just dipped a clean nail polish brush in the blob, and painted my nails that way.

When I first painted my nails with my Essence Peel Off Base Coat dupe, they looked like this. That is to say, they looked like I had glue on them (which, by the way, is how the real Essence Peel Off Base Coat looks when you first put it on too, according to the blogs I've read). But when I first saw my nails, I had this "OMG WHAT DID I JUST DO? I PUT GLUE ON MY NAILS!" moment. It felt a little crazy, I won't lie.


But after a few minutes, the glue quickly dries down and becomes clear, and much thinner than I'd expect. I guess all the solvent (which really is just water) has evaporated. It gets dry pretty fast (in 2-3 minutes) but if you want to be cautious, perhaps waiting for 10mins wouldn't hurt. There, all dried out, it doesn't look so crazy now. (OMG, yes, you are seeing my nekkid nails!)
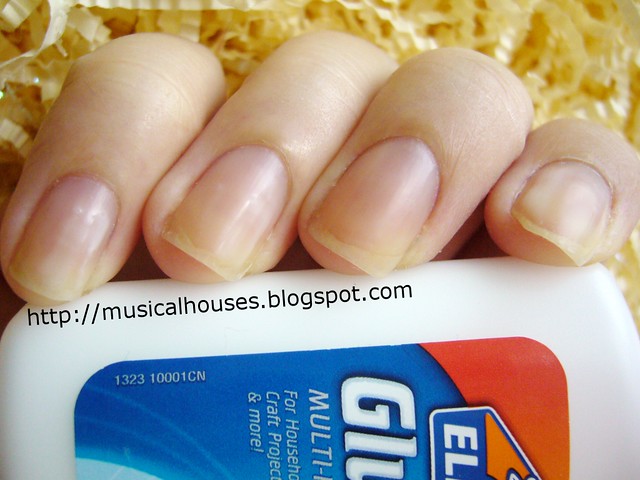
essence peel off base coat dupe pva glue dry

The good thing about using PVA glue is that if you make any mistakes with the base coat, you can clean it up with water, or just wash it off entirely with water. So in a way, it's even easier to handle than your normal base coat.

Anyway, seeing how this was a peel-able base coat, I decided I would absolutely HAVE to use it with a glitter polish. So I picked out Nubar Night Sparkle, part of the Sparkle collection sometime back. I've had this for years but haven't worn it yet...
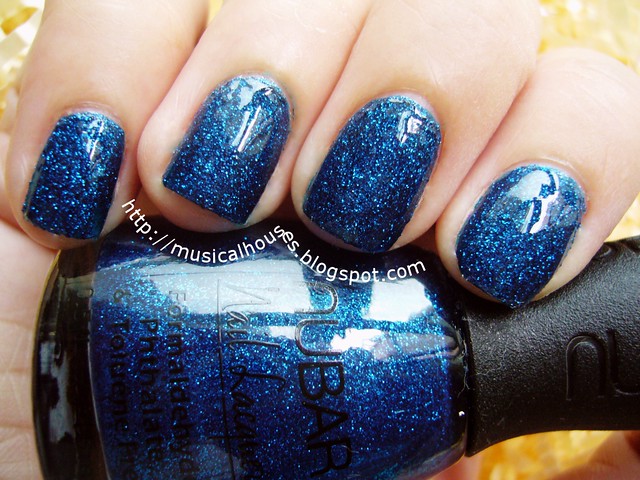
nubar twilight essence peel off base coat dupe pva glue

I know, gorgeous, right? The best part? The easiest glitter removal ever - just peel off the entire polish right off your nail! I was really psyched at being able to just peel off the polish - it's even more convenient than the foil method!
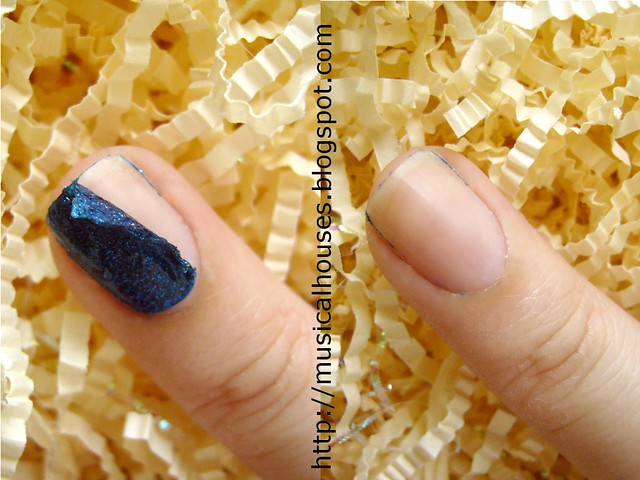
essence peel off base coat dupe pva glue removal

Generally, I got pretty good removal - if you can peel off all the PVA glue base, then you're peeling off all the polish. Unless you polish outside of the PVA base (as I did near the cuticle area), then you'll have to use a little bit of remover to take off whatever is left behind. Still, this is great for me - a clean, convenient method of glitter removal! Just look at that! (Yet another nekkid nails shot.)
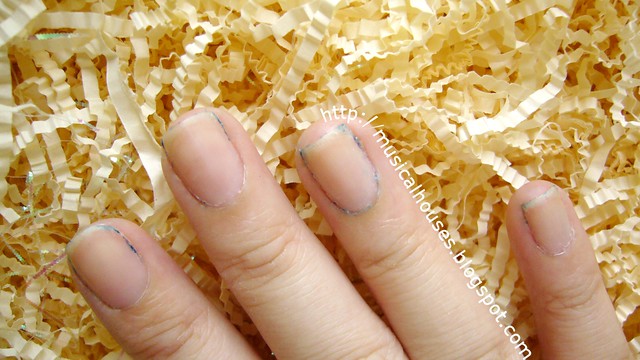
essence peel off base coat dupe pva glue removed

One of the questions I had about using PVA glue was the water resistance of the glue. After PVA glue is water soluble (so is the Essence Peel Off Base Coat), so I was worried that even after the glue had dried, the manicure would still come loose when I showered or washed my hands. Other bloggers had mixed results - some reported 4 days without incident (here and here), while others had only one day before chipping (here). That's something I've yet to try out, since I haven't tried wearing the PVA Glue base coat for a few days yet. Still though, if it lasts, it would be fantastic. Updated: I tried out the PVA glue as a base coat for an NOTD wear test, and it did great! Check out my Elianto Burnt Umber NOTD post for more details!

Another thing to note of course, is safety. Based on the ingredients list in the Essence Peel Off Base Coat, a mixture of PVA emulsion and water (found in the Essence version) probably won't harm your nails if you use it topically. So I imagine most PVA glues would work. Just don't use superglue! And if you are unsure, check the ingredients before buying or trying on your nails. The good thing? It's washable with water, so if you try it and don't like it, just rinse it off.

So, would I ever try out something as crazy as using Elmer's glue as a base coat? Well, to be honest, I actually think I would! I can see how a peel-off base coat would be useful for glitter manicures, elaborate nail art that would be a pain to remove, and also for swatching, especially swatching of multiple glitters in a row. Basically, if it's going to be a pain to remove, and I don't intend on wearing it for all that long (say maybe 2-3 days), I'd use the glue method. But for plain ol' creme manicures, I'd probably just use a normal basecoat.

Linkwithin

Related Posts Plugin for WordPress, Blogger...